Beadboard Installation Services for Property Owners
Visitors can learn about Beadboard installation services and compare local contractors who handle the work in their area.
- - Beadboard installation services for homeowners updating interior or exterior spaces.
- - Local contractors specializing in beadboard for residential and commercial properties.
- - Connect with service providers experienced in beadboard installation for various property types.
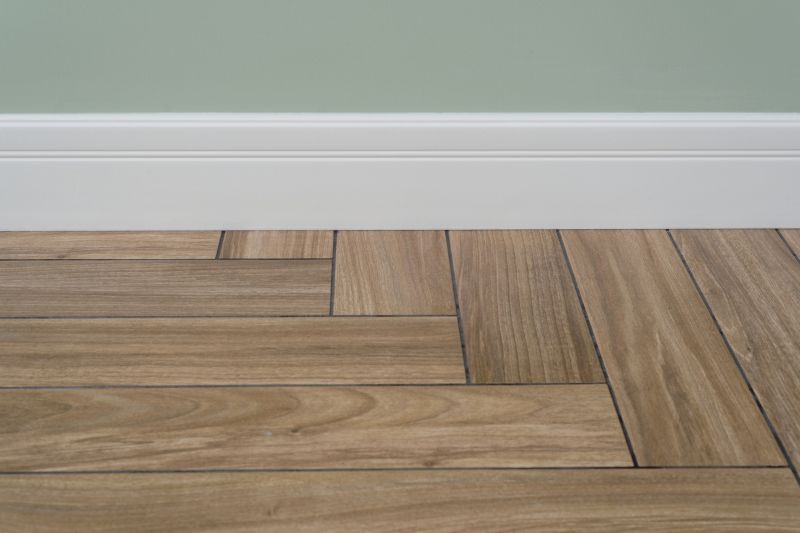
Beadboard installation is a popular choice for enhancing the aesthetic appeal of interior walls, ceilings, and wainscoting in homes and commercial spaces. Property owners seeking this service often look for experienced local contractors who can accurately measure, cut, and install beadboard panels to achieve a clean, polished look. These professionals typically handle the entire process, from preparing surfaces to ensuring the panels are securely fastened and properly finished, helping to create a timeless, textured appearance that complements various design styles.
Local service providers specializing in beadboard installation are familiar with different types of beadboard materials and installation techniques suited to specific spaces and preferences. Whether updating a single room or completing a larger project, property owners can expect these pros to assess the space, recommend suitable options, and execute the work efficiently. Connecting with experienced local contractors ensures that the job is completed to standard, providing a professional finish that enhances the character and value of the property.
This guide provides helpful information to understand beadboard installation and what to consider when planning a project. It assists in comparing local contractors who specialize in beadboard services and understanding the basics of the work involved. The goal is to help visitors gather the right details to connect with qualified service providers in their area.